Introduction
There’s a special kind of magic in recipes that have been passed down through generations, and this Old Fashioned Stovetop Fudge is one of them. It’s the kind of candy that grandmothers made on the stove, watching the pot carefully and trusting experience as much as the thermometer. No shortcuts, no modern tricks—just patience, care, and simple pantry ingredients.
Unlike many modern fudge recipes, this version skips marshmallows and sweetened condensed milk entirely. Instead, it relies on the classic method of boiling sugar, cocoa, and milk to the perfect stage, then beating it as it cools. The result is a dense, velvety fudge with a deep chocolate flavor that feels both rich and comforting.
This is the kind of treat that brings back memories of holiday tins, church potlucks, and handwritten recipe cards. It’s old-school candy-making at its finest, and once you master it, you’ll understand why this method has stood the test of time.
What You’ll Need
The Base
- White sugar – 2 cups
- Whole milk – 1 cup
- Unsweetened cocoa powder – 1/2 cup
The Finish
- Unsalted butter, sliced and softened – 4 tablespoons
- Vanilla extract – 1 teaspoon
How to Make Old Fashioned Fudge
Prep & Mix
Grease an 8-inch square baking pan with butter or line it with parchment paper. In a medium, heavy-bottomed saucepan, whisk together the sugar and cocoa powder. Slowly add the milk, whisking until the mixture is smooth and fully combined.
Boil the Mixture
Place the saucepan over medium-high heat, stirring constantly until the mixture comes to a full rolling boil. Once boiling, reduce the heat to low and stop stirring.
Reach the Soft Ball Stage
Attach a candy thermometer to the side of the pan and allow the mixture to simmer undisturbed until it reaches 238°F (soft ball stage).
No thermometer? Drop a small spoonful of the syrup into ice-cold water. If it forms a soft ball that flattens when pressed, it’s ready.
Cool Without Stirring
Remove the pan from the heat and let it sit completely undisturbed for 50–70 minutes, until the temperature drops to about 110°F. This step is key to achieving smooth, non-grainy fudge.
Beat the Fudge
Add the softened butter and vanilla extract. Using a sturdy wooden spoon, beat the mixture vigorously. It will start out glossy, then gradually thicken and turn matte as it transforms into fudge.
Set & Slice
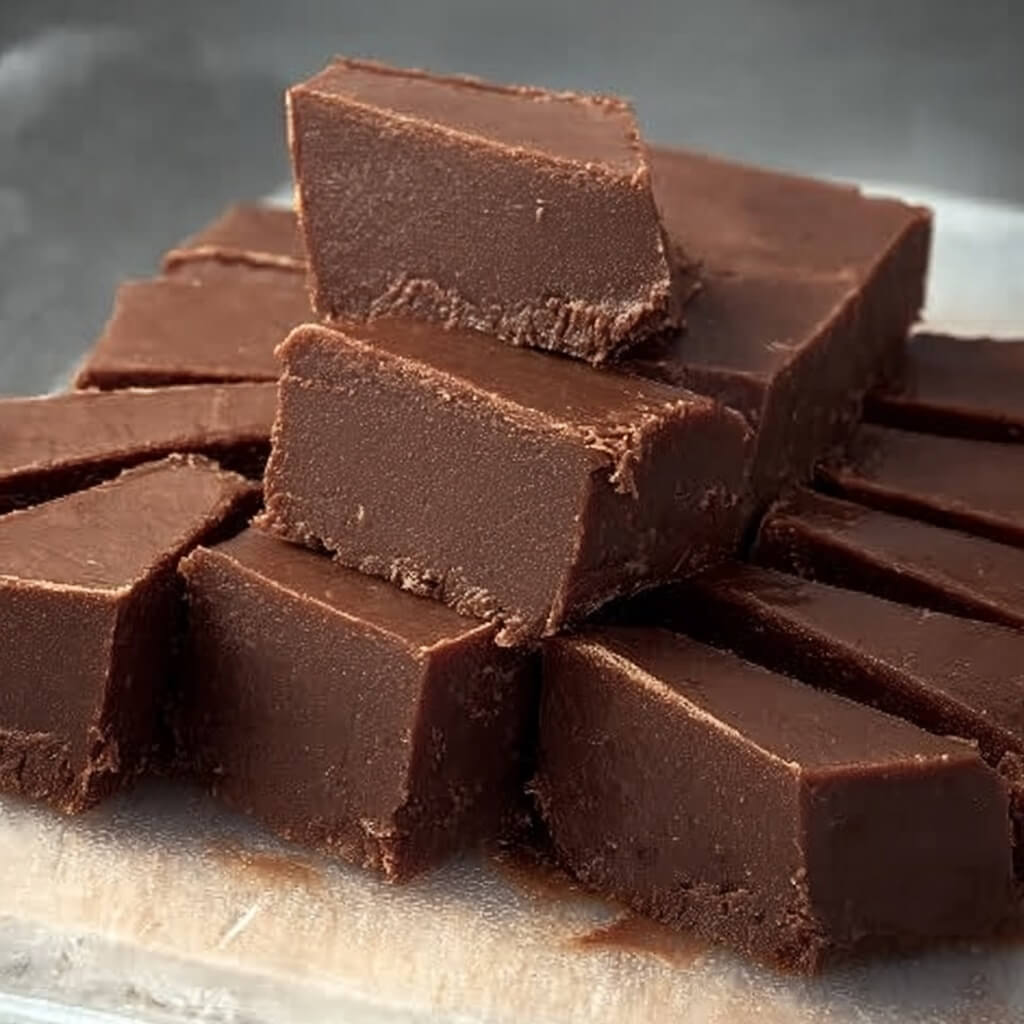
Quickly pour the fudge into the prepared pan and spread evenly. Let it cool completely at room temperature, or refrigerate to speed up setting. Cut into 1-inch squares and serve.
Why You’ll Love This Recipe
- A true old-fashioned candy recipe made from scratch
- No marshmallows or condensed milk required
- Rich, deep chocolate flavor with a smooth texture
- Perfect for holidays, gifts, and family gatherings
- A nostalgic treat that feels special and homemade
Tips for Perfect Fudge
- Use a heavy-bottomed saucepan to prevent scorching
- Avoid stirring once the mixture reaches a boil
- Be patient during the cooling stage for best texture
- Beat just until the fudge thickens—overbeating can make it crumbly
Variations
- Add chopped walnuts or pecans before pouring into the pan
- Stir in a pinch of cinnamon or espresso powder for depth
- Swirl in a spoonful of peanut butter for a classic twist
- Sprinkle flaky sea salt on top before setting
Substitutions
- Use plant-based butter and milk for a dairy-free version
- Replace half the cocoa with dark cocoa for a bolder flavor
- Vanilla bean paste can replace vanilla extract
FAQs
- Why did my fudge turn grainy? Usually from stirring too much or not cooling properly.
- Can I skip the thermometer? Yes, the cold-water test works well.
- How long does homemade fudge last? Up to 2 weeks when stored properly.
- Should I refrigerate fudge? Room temperature is best for texture.
- Can I double the recipe? Yes, but use a larger pan and saucepan.
- What’s the best pan size? An 8-inch square pan gives ideal thickness.
- Can kids help make this? They can help measure, but boiling sugar needs adult supervision.
- Why shouldn’t I stir while boiling? Stirring can cause sugar crystals to form.
- Can I freeze fudge? Yes, wrap tightly and freeze up to 3 months.
- How do I cut clean squares? Use a sharp knife warmed under hot water.
How to Serve
Serve this fudge as a sweet snack, holiday dessert, or homemade gift. It pairs beautifully with coffee, tea, or a simple glass of milk.
Make Ahead and Storage
- Make Ahead: Prepare up to two weeks in advance.
- Store: Keep in an airtight container at room temperature.
- Freeze: Freeze tightly wrapped squares for longer storage.
Conclusion
This Old Fashioned Stovetop Fudge is proof that simple ingredients and careful technique can create something unforgettable. Rich, smooth, and deeply nostalgic, it’s a classic recipe worth keeping—and sharing—for generations to come.